photo 0d750e62-7de6-4ef1-ab43-8186ebdd3aaf_zpsb4de4148.jpg photo c1d1815b-cc69-4b47-b382-1d7210b38f27_zps4e9a526e.jpg photo 725eed78-ecf2-41af-8252-c75ae1702a0d_zpsc4317e1f.jpg

Wednesday, December 10, 2014

Easy Christmas Tree Crafts

Two years ago, I purchased a giant pack of foam Christmas trees. The foam shapes have allowed us to take part in many fun Christmas trees crafts.  Whether my children are a little under the weather or simply bored, it’s nice to have some crafts for them to complete.    On cold afternoons, we do a family craft.  Here are a few easy Christmas tree crafts for kids...from my family to yours. 

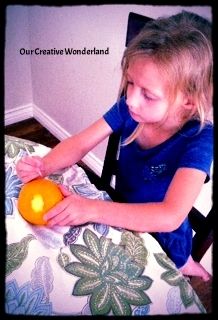
Christmas Tree Wiggly Eyed People

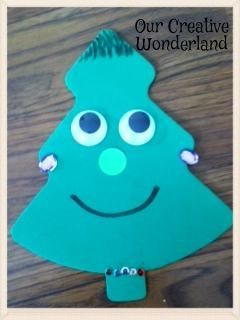
Make some cute Christmas tree people with wiggly eyes.  These were fun, easy and turned out very cute!  I used green foam Christmas trees.  Then, I gave my kids wiggly eyes, round labeling stickers, markers, sequins, buttons and some adhesive gems.  I used the labeling stickers for a nose, markers for hair and mouth and a labeling sticker for a nose.   Then, I used gems for earrings and sequins for a necklace.  You can also use stamp pens and even make legs, arms and feet for your people.  Of course, don’t forget your wiggly eyes.  

Christmas Tree with Photo Ornaments


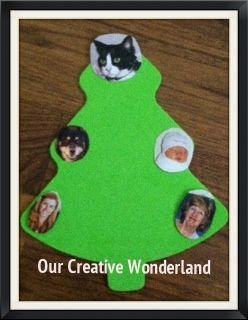
You can do this one on a small or large scale.  For a  craft that the entire family can complete,  cut out a big Christmas tree out of green felt.  Then, have everyone pick out a favorite picture that can easily be cut into a  round circle or other shape.  Frame each picture with a round piece of construction paper with the middle cut out.   For a smaller tree, simply cut out pictures into a round shape and glue onto your tree.  

Mixed Media Christmas Tree


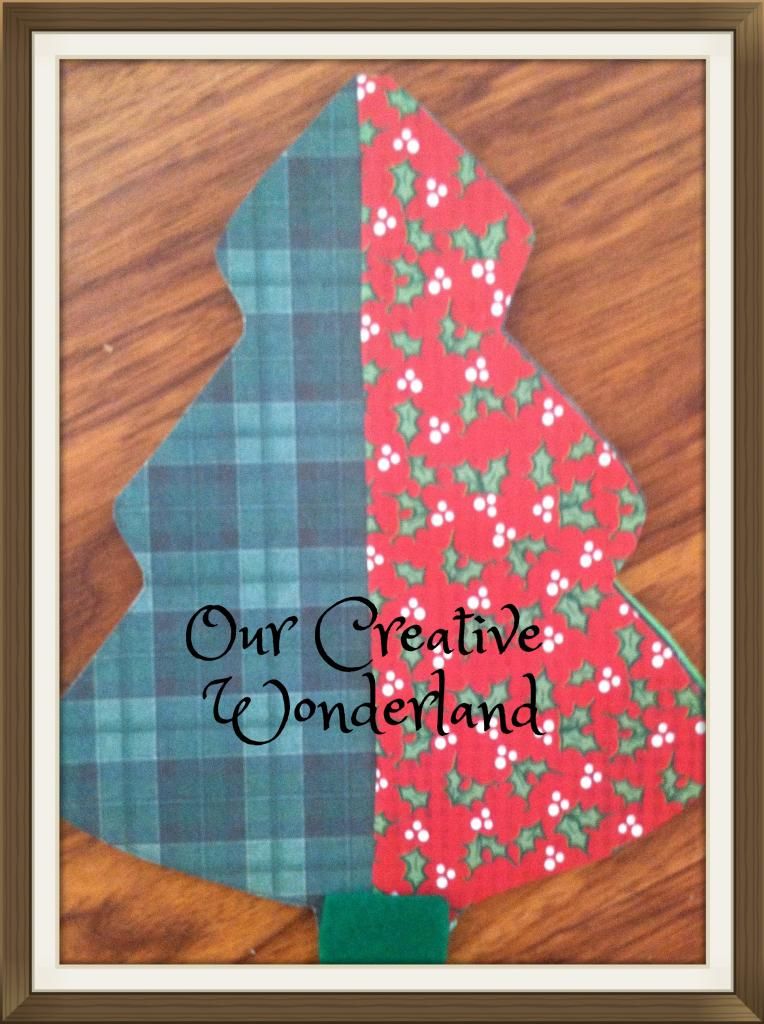
Mixed media trees use different mediums of materials to create an artful composition.  Have your child pick out several different types of paper and stiff fabrics.  If you want some adorable patterns, try the scrapbook section of your local craft stores for a plethora of stiff, decorative papers.  Then, take a cardboard Christmas tree template and have them trace it onto the fabrics and paper.   Cut out each tree shape.  Then fold the papers in half and cut.  Glue one pattern on one side of the tree and the other pattern on the other.  Finally, we choose some felt to cover the stem.  You can also cut your paper into a zig zag, puzzle-like pieces or polka dots to cover your tree.  The more shapes you do, the harder it becomes to make the tree look seamless.   You can also glue things like glitter or sequins onto the tree for a layered effect.  

We had fun making these easy Christmas tree crafts!  I hope your family does too!

Tuesday, November 25, 2014

Hard Boiled Egg Molds: A Fun Breakfast

My daughter has a hard time waking up in the morning. Sometimes a fun breakfast helps motivate her to get going. Unfortunately, fun is often equated with sugary breakfast items. Hard boiled eggs are an easy way to get a little protein into your children. A protein-rich  breakfast is said to help kids concentrate more at school and other events. It also keeps blood sugar levels steady.

Egg molds come in a wide variety of shapes and styles.  I have the bear and rabbit ones.  


To make these, I first cook my hard boiled eggs. I cook mine for about 10-12 minutes. To make sure the eggs fit in the molds (at least the molds I purchased), I use medium sized ones.  

After cooking the eggs, I drain the water and put a little cold water over the shell so they are not too hot to the touch.  However, you want to peel the eggs and get them into the mold while the eggs are still relatively hot. 

Then, I place the egg into the molds, pop them in the refrigerator and let them stay in there for about eight to ten minutes to make sure the egg takes on the animal face and shape.

You might want to boil the eggs before the kids get up in the morning. After all, it takes about 20 minutes to prepare this little dish.  It’s easy but there is a little waiting involved and when kids are hungry, well I’m sure you know how that goes.  

When my kids see the molds, they get really excited and want to eat their eggs. In other words, if you have a picky eater this may help them try out an egg.


These eggs can also be popped into a bento box for lunch (just make sure it is properly insulated and use an ice pack)!

My kids love these eggs and gobbled their shapes up. I try not to make this breakfast all the time. After all, I don’t want it to lose its appeal.

Here are the molds I used: (this is an affiliate link: If you use this link, I receive a small commission to help out with the costs of my blog, at no additional charge to you).


What is your favorite protein-rich breakfast to feed your kids in the morning?

Wednesday, November 5, 2014

Quick and Easy Thanksgiving Crafts for Kids

The day after Halloween I went to Target and was amazed at all of the Christmas Decorations and products out on display.  Where’s the Thanksgiving love? 

Each holiday, I like to come up with a few fun crafts for my kids  After cleaning, shopping and prepping for Thanksgiving, I want crafts that are easy and fun.  I like crafts that my kids can complete with just a little guidance.   Here are three quick and easy Thanksgiving crafts for kids.  

Ribbon Spool Turkeys
I’m all for recycling empty containers for crafts.  For each turkey, take an empty ribbon spool and trace its circumference on a piece of brown construction paper.  Cut out two circles: one for the front of the turkey and one for the back.  Next, cut out turkey feathers in four different colors.  We used brown, orange, red and yellow.  Next, have children tape or glue one brown circle to the front of the ribbon spool.  After that, kids can tape or glue the four feathers to the back of the spool so you can see the feathers from the front. Then, cover the feathers with the second brown circle.  Now, it’s time to make the turkey face.  We cut one triangle for the nose and a red wattle.  Then we pasted these on and added googly eyes.  

Dot Painting Corn Place Card


These place cards are a fun craft and also add a little something extra to your Thanksgiving tablescape. First, I cut out some corn leaves and pasted it to a small piece of construction paper.  Then, I  drew an outline of an ear of corn (older kids can do this themselves).  Next, I gave my kids a few q-tips and some yellow, brown and orange paint.  First, I showed them how to take a small amount of paint and make yellow dots for the ear of corn.  Then, I took a little orange and brown paint and put a few dots for multi-colored corn.  Next, we took some more paint and used the cotton swabs to write our names in dots.  You can put these on top of the plates for an easy Thanksgiving place card.  

Thanksgiving Bracelets or Necklaces

This is a fun, mess-free craft that kids can wear on Thanksgiving.  Simply purchase some letter beads and elastic cord or colored lace.  Then, have kids pick a Thanksgiving message.  Some ideas include, Thanks, Give Thanks or Thank You for a bracelet.  Happy Thanksgiving or Count Your Blessings could be used for a necklace. Younger kids may need the message written down on a piece of paper.  Teach kids to tie a loose knot at the end of the string so the beads don’t fall off.  

I hope these quick and easy Thanksgiving crafts will be a hit with your kids.


Sunday, October 26, 2014

Mini Pumpkin Decorating Ideas

Cute things come in small packages.  I think the same can be said for mini-pumpkins. While I typically purchase two to three bigger pumpkins, I always seem to be buying a lot of mini-pumpkins.   My kids like them too. They look nice on the mantel, in the bathroom or any small space that needs some fall cheer.  Mini-pumpkins look nice just the way they are.  However, decorating these tiny bundles of joy is also fun.   

Toothpick Designs

It might be hard to drill a design into a mini pumpkin.  However, the small point of a toothpick is perfect for creating words or a design.  Simply firmly poke a small hole and repeat until your design is finished.  In case the tip gets dull, you should make sure to have half a dozen toothpicks or so handy.  

Fine Glitter

Fine glitter is a great way to add some shine and sparkle to your mini-pumpkins.  First, spread a thin layer of glue over the pumpkin.  Then, sprinkle the glitter and shake the excess off.   It is best to do this outside over a big box top so you don’t get glitter all over the place.

Small Self-Adhesive Gems

If you don't like messes, this is the perfect craft for your kids. Tiny gems are perfect for a small pumpkin.  A small package of gems is more than enough to cover your pumpkin in a pretty design.  Choose complementary fall tones for a sophisticated look.  These look nice in a circular design; start from the top and work your way to the bottom.  


Permanent Markers

Permanent markers are an easy way to make a design. Try polka dots, chevron stripes or even a message!  Remember, these markers are permanent so you might want to use a pencil first and wear gloves (especially kids) if you don’t want any on your fingers.  

Mini-pumpkins look wonderful in the window or stacked on top of each other in a hurricane vase.  Have fun decorating your mini pumpkins this fall season!

*Due to small parts, pointy objects, etc. I would recommend these projects for children over four (with close supervision).


Wednesday, October 22, 2014

Spooky Halloween Crafts Using Recycled Materials


Halloween is just around the corner! My kids often want to make an art project. However, crafts can get expensive. Luckily, if you have toilet paper rolls, scraps of paper and fabric, and basic drawing materials, you can make plenty of fun crafts. This October, try out some of these spooky Halloween crafts!

“Look Inside” Haunted House 

You will need:
  • paper scraps
  • pipe cleaners
  • markers or crayons
  • gluestick
  • scissors

This is a simple craft using leftover construction paper and crayons. First, we looked through our scrap drawer for some big pieces of construction paper. Then, my kids drew a haunted house. Next,they cut out three sides of each door and window so each could "open". After that, they drew some spooky things on scraps of construction paper and taped the drawings behind the doors and windows. Some ideas include:ghosts, monsters and zombies. You can also draw things coming out of the windows like hands or spiders. We used a small piece of pipe cleaner to make a spider coming out of the window. Finally, we cut out another house of the same size and glued it on the back of the house. Spooky!

Ghost Windsock

You will need:
  • White masking tape
  • Old white shirt or white crepe paper
  • black marker

This one is very easy. First, take an empty toilet paper roll and wind white masking tape around it. We cut off three six-inch pieces to cover the cardboard roll. Then, the kids made a ghost face on the tape using a black marker. If they mess up on the face, you can easily cover it up with another piece of masking tape and then they can try again. Next, I took an old white shirt and cut out narrow strips of cloth. We cut four pieces of various lengths. After that, we used the masking tape to secure the fabric on the inside of the toilet paper roll. Finally, we took one more piece of fabric and made a loop. You can secure it with duct tape. You can also use white streamers(crepe paper)in place of the fabric.


I always keep a bag of paper and fabric scraps on hand. You just never know when things like this will come in handy. Have fun using up your crafting extras with these Halloween crafts.

Privacy Policy

At Our Creative Wonderland, the privacy of our visitors is of extreme importance to us. This privacy policy document outlines the types of personal information is received and collected by http://wadingthroughmotherhood.com and how it is used.


Log Files
Like many other Web sites, http://acreativewonderland.blogspot.com makes use of log files. The information inside the log files includes internet protocol ( IP ) addresses, type of browser, Internet Service Provider ( ISP ), date/time stamp, referring/exit pages, and number of clicks to analyze trends, administer the site, track user’s movement around the site, and gather demographic information. IP addresses, and other such information are not linked to any information that is personally identifiable.


DoubleClick DART Cookie
.:: Google, as a third party vendor, uses cookies to serve ads on Our Creative Wonderland
.:: Google's use of the DART cookie enables it to serve ads to users based on their visit to http://wadingthroughmotherhood.blogspot.com and other sites on the Internet.
.:: Users may opt out of the use of the DART cookie by visiting the Google ad and content network privacy policy at the following URL - http://www.google.com/privacy_ads.html

Some of our advertising partners may use cookies and web beacons on our site. Our advertising partners include ....
Google Adsense
Chitika
Amazon Affiliate Program

These third-party ad servers or ad networks use technology to the advertisements and links that appear on Our Creative Wonderland send directly to your browsers. They automatically receive your IP address when this occurs. Other technologies ( such as cookies, JavaScript, or Web Beacons ) may also be used by the third-party ad networks to measure the effectiveness of their advertisements and / or to personalize the advertising content that you see.

Our Creative Wonderland has no access to or control over these cookies that are used by third-party advertisers.

You should consult the respective privacy policies of these third-party ad servers for more detailed information on their practices as well as for instructions about how to opt-out of certain practices. Our Creative Wonderland's privacy policy does not apply to, and we cannot control the activities of, such other advertisers or web sites.

If you wish to disable cookies, you may do so through your individual browser options. More detailed information about cookie management with specific web browsers can be found at the browsers' respective websites.